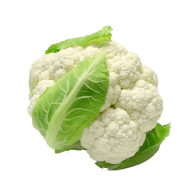
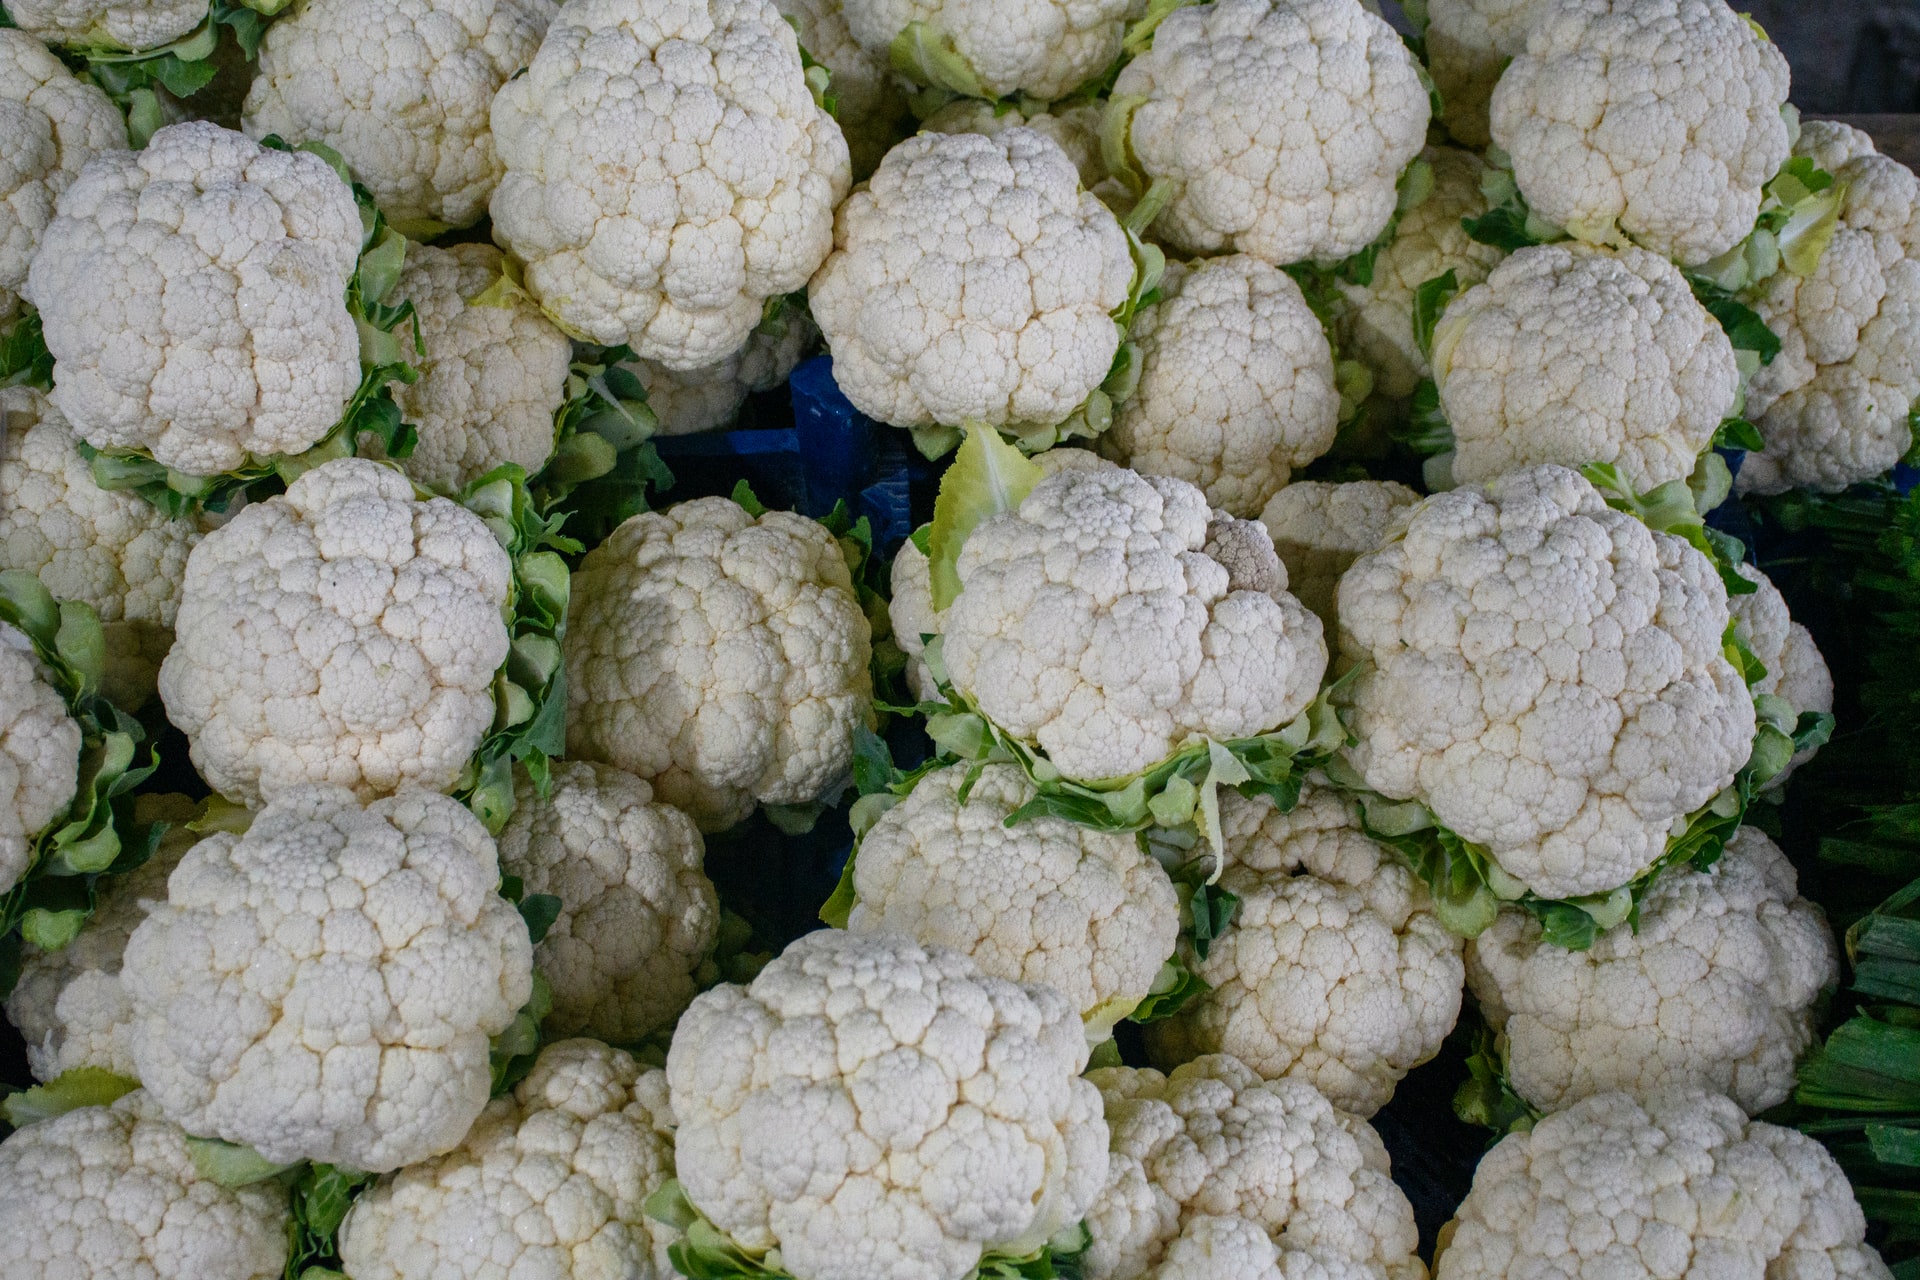
Although cauliflower can be grown directly from seeds—a common practice in the United States—in Europe, it is primarily grown from transplants. Transplants can be cultivated either in protected environments on seedbeds (bare root transplants) or in containers (transplants with a substrate clump). Container-grown transplants offer several advantages over those grown on seedbeds.
Seed Sowing and Transplanting
Early varieties are sown on open seedbeds in June and July and transplanted at the end of August and the beginning of September. In continental regions, late varieties are sown in warm seedbeds in February, with transplants being planted out in March and April. Cauliflower seeds are sown in rows in seedbeds with a spacing of 10 cm between rows. The seeds are sown about 2.5 cm apart within the rows, at a depth of 2 cm. When the plants develop 3 to 5 leaves, they are transplanted to the seedbed. Early varieties are planted with a spacing of 50 x 50 cm, and late varieties are spaced at 60 x 60 or 80 x 70 cm. Each square meter requires two to four transplants.
Container-grown transplants have uniformly structured growth space, allowing for consistent plant growth and uniformity among transplants. High-quality substrates with good water-air relationships, high water retention, and nutrient content are typically used for growing transplants, sufficient for full development. These substrates are sterilized, free from pathogens, pests, and weed seeds, which are commonly found in soil.
Transplants are moved to the field with the substrate clump attached to the roots, preventing transplant shock, unlike bare root transplants. This method allows for continuous growth and easier establishment, often eliminating the need for replanting. Transplants grown in containers can also be planted in less than optimal soil moisture conditions and can be transplanted throughout the day, maximizing the use of planting equipment and allowing for larger area planting in optimal time.
Container-grown transplants typically mature earlier and yield more than bare root transplants grown on seedbeds.
This method is particularly advantageous for hybrid vegetable production, where the cost of seeds makes it crucial to obtain quality transplants from every seed.
Growing Conditions for Transplants
To encourage rapid germination, containers are placed in germination chambers with optimal temperatures (20°C) and high humidity, maintained using misting systems. Seeds germinate within 5-6 days under these conditions. After germination, containers are moved to heated protected environments with consistent optimal temperatures maintained day and night until the seeds fully sprout, with substrate moisture carefully managed. Once seedlings emerge and develop their first true leaves, the temperature is lowered to around 15°C (or up to 20°C on sunny days) with nighttime temperatures 3-4°C lower. This temperature regime, along with regular ventilation and moisture control, is maintained for 5-6 weeks until transplants develop 4-5 true leaves. High temperatures after sprouting can lead to elongated, fragile transplants of poor quality.
If transplanting must be delayed due to unfavorable weather conditions (e.g., low temperatures, overly wet soil, rain), transplants can be stored for up to 2 weeks at 1-2°C.
Management of Transplants and Care Until Planting
In protected environments, containers should be slightly elevated from the ground using bricks or stone blocks covered with wire mesh or wooden slats to ensure better air circulation and prevent root growth through the drainage holes. This elevation allows better warming of the substrate and makes transplant extraction easier during planting.
The substrate should be kept moderately moist throughout the growing period. Due to the relatively small volume of the seedling trays, watering should be done in the morning, with moisture maintained by misting during the day. It is advisable to keep the plants dry in the evening and at night. The best water for irrigation is rainwater collected from the buildings, water from private wells, or clean natural water sources. Using tap water directly is not ideal, as it is usually much colder, which can negatively impact transplant development. Irrigation is done using automatic systems with fine mist sprayers that do not damage young plants or compact the substrate. Hand watering should also be done with fine spray nozzles. The automatic irrigation system can also be used to apply foliar fertilizers such as Fertina P, Profert Mara, or Kristalon.
Using treated seeds and growing in sterilized substrates often negates the need for pest and disease control. However, it is advisable to treat transplants preventively with contact fungicides like mancozeb at 0.2% concentration or copper-based fungicides before transplanting.
One week before the planned transplanting date, protected spaces should be fully opened to expose transplants to direct sunlight, helping them acclimate to the full spectrum of sunlight they will experience in the field.
Before transplanting, the substrate should be moderately moist to facilitate easy extraction of the transplants with the substrate intact. If the substrate is too wet, it may fall off the roots during planting; if too dry, the plants may establish poorly in the field.


